.NET Multi-platform App UI (.NET MAUI) is a cross-platform framework for creating native mobile and desktop apps with C# and XAML.
Using .NET MAUI, you can develop apps that can run on Android, iOS, macOS, and Windows from a single shared code-base.
.NET MAUI is open-source and is the evolution of Xamarin.Forms, extended from mobile to desktop scenarios, with UI controls rebuilt from the ground up for performance and extensibility. If you’ve previously used Xamarin.Forms to build cross-platform user interfaces, you’ll notice many similarities with .NET MAUI. However, there are also some differences. Using .NET MAUI, you can create multi-platform apps using a single project, but you can add platform-specific source code and resources if necessary. One of the key aims of .NET MAUI is to enable you to implement as much of your app logic and UI layout as possible in a single code-base.
Even though there are many things in common between Xamarin.Forms and .NET MAUI, there are a lot of differences, too. Some of the differences are mentioned below:
| Xamarin | .NET MAUI |
| Uses separate projects for each platform. | Single project structure: each platform can be targeted using devices about to be deployed. |
| Platform-dependent files and code are maintained under different projects. | The platform-dependent files and code are maintained under platform folders and platform filename targets such as MainPage.android.cs and MainPage.iOS.cs. |
| Project system:Â Franken-proj. | Project system:Â SDK Style. |
| Xamarin supports .NET Framework to build and run apps. | .NET MAUI supports the .NET CLI toolchain to build, run, and publish .NET apps. |
| Uses renderer architecture. | Uses handler architecture. |
| Tightly coupled with native controls. | Loosely coupled with native controls. |
| Cross-platform APIs for device features can be carried out using Xamarin.Essentials. | Cross-platform APIs for device features are also integrated with MAUI under Microsoft.Maui.Essentials namespace. |
Note: You can get more differences in the link provided in the references.
Build your first app
Prerequisites
- To create .NET MAUI apps, you’ll need the latest version of Visual Studio 2022.
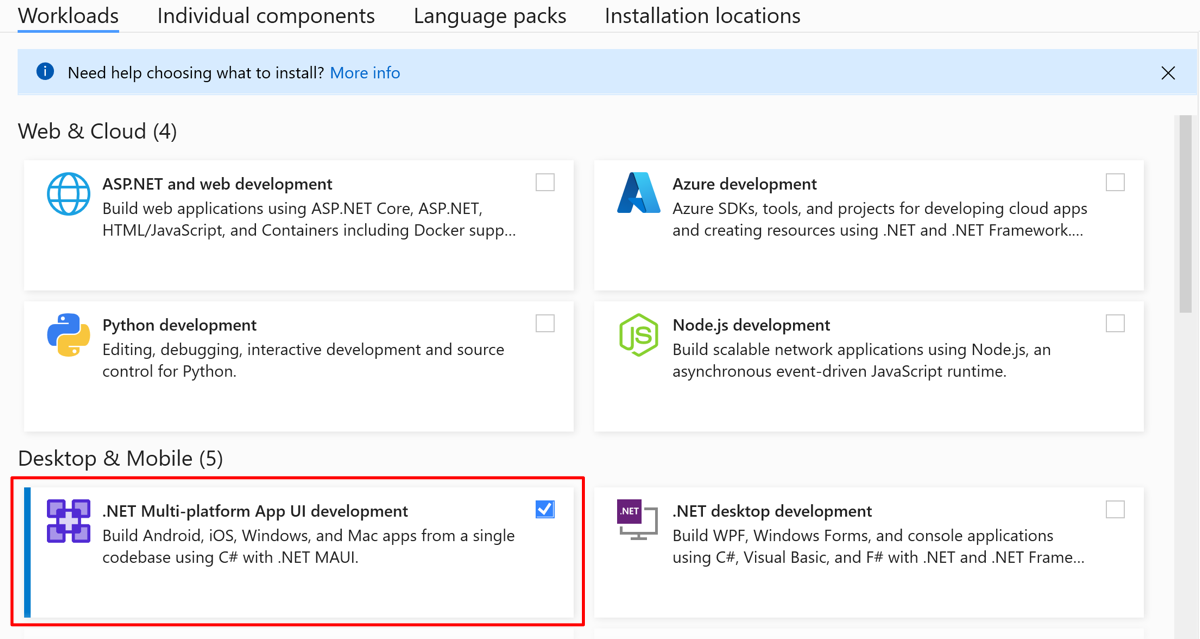
- Either install Visual Studio, or modify your existing installation, and install the .NET Multi-platform App UI development workload with its default optional installation options:
Create an app
In this tutorial, you’ll create your first .NET MAUI app in Visual Studio 2022, and run it on an Android emulator:
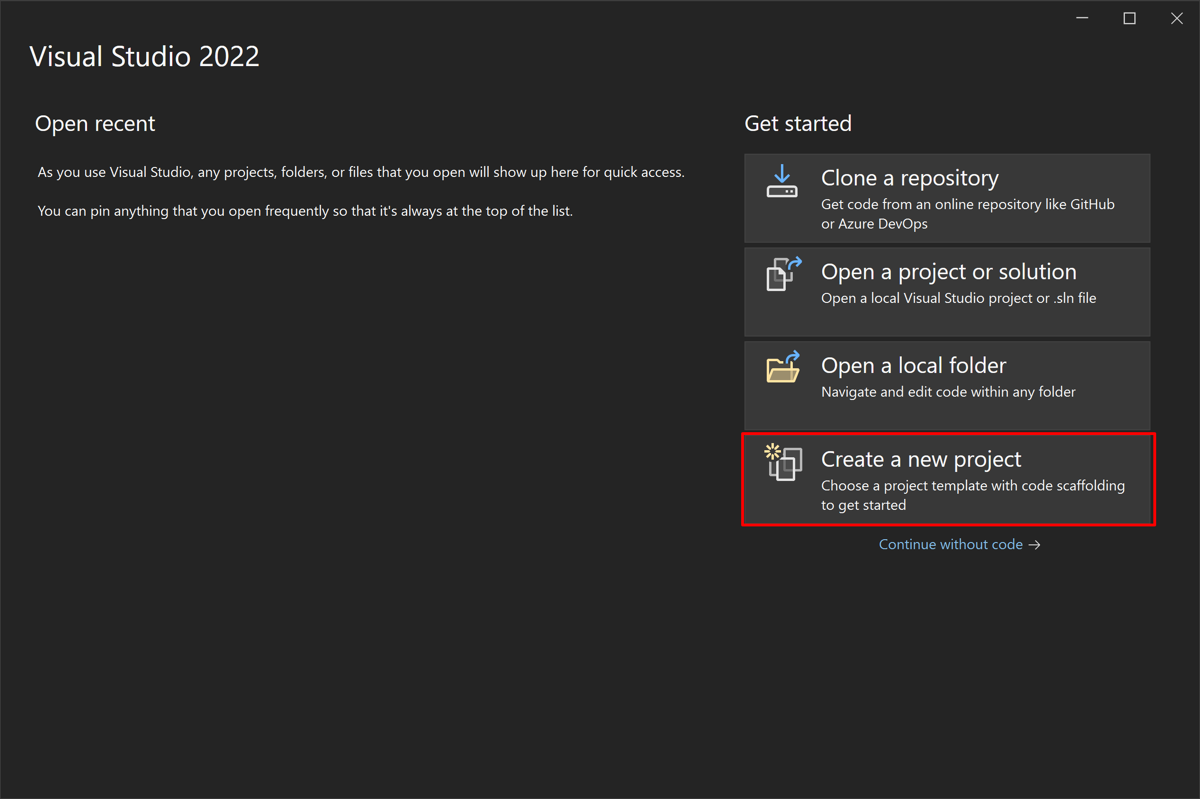
- Launch Visual Studio 2022, and in the start window click Create a new project to create a new project:
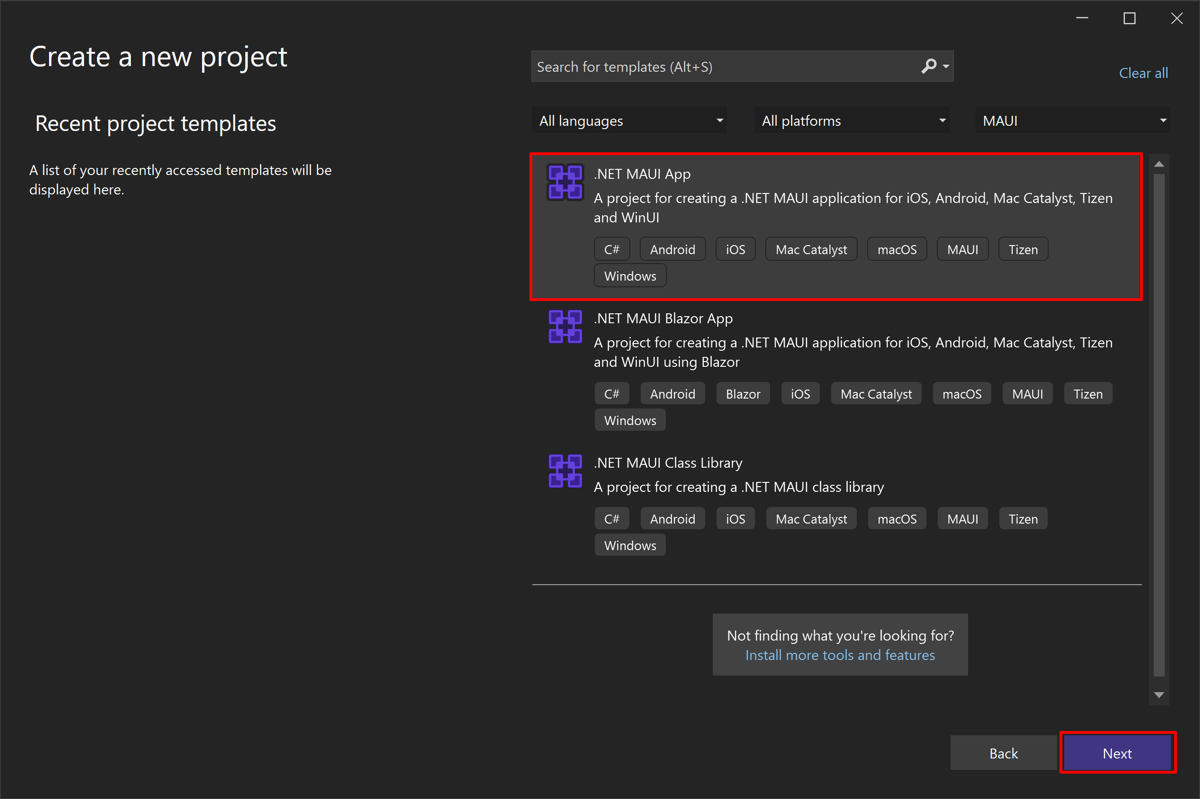
2. In the Create a new project window, select MAUI in the All project types drop-down, select the .NET MAUI App template, and click the Next button:
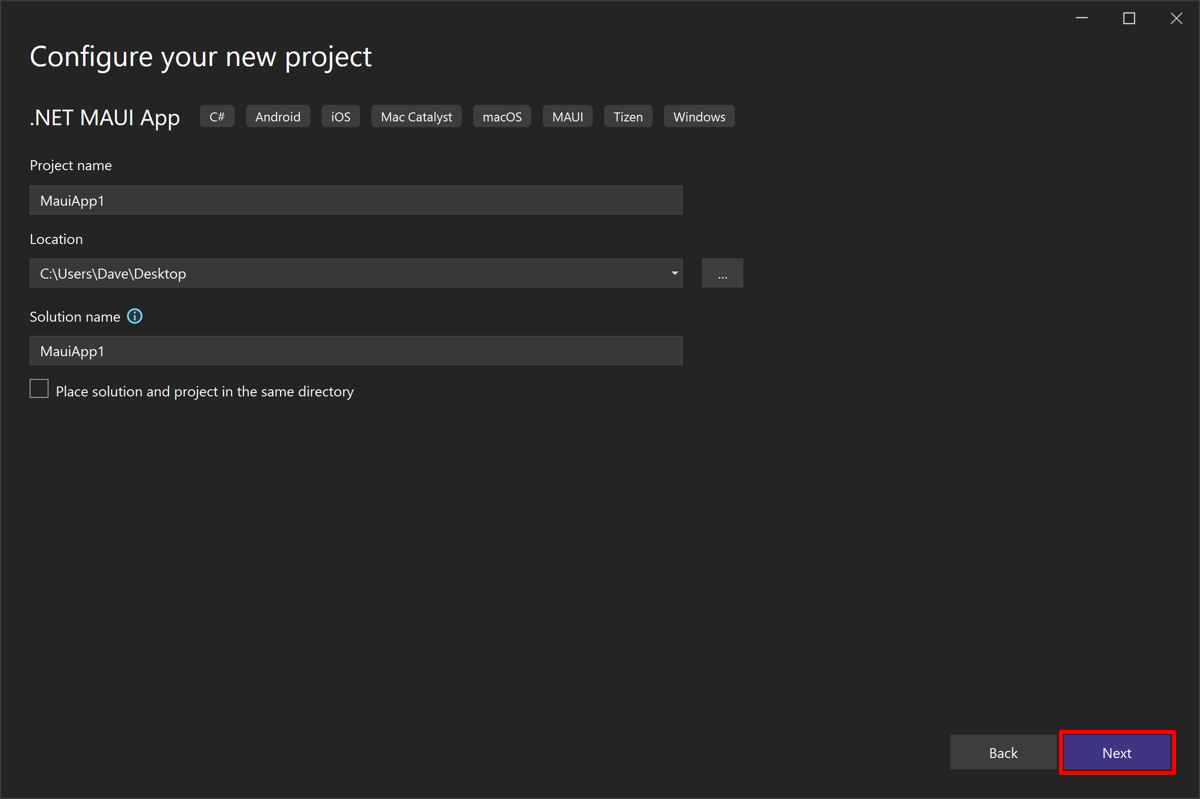
3. In the Configure your new project window, name your project, choose a suitable location for it, and click the Next button:
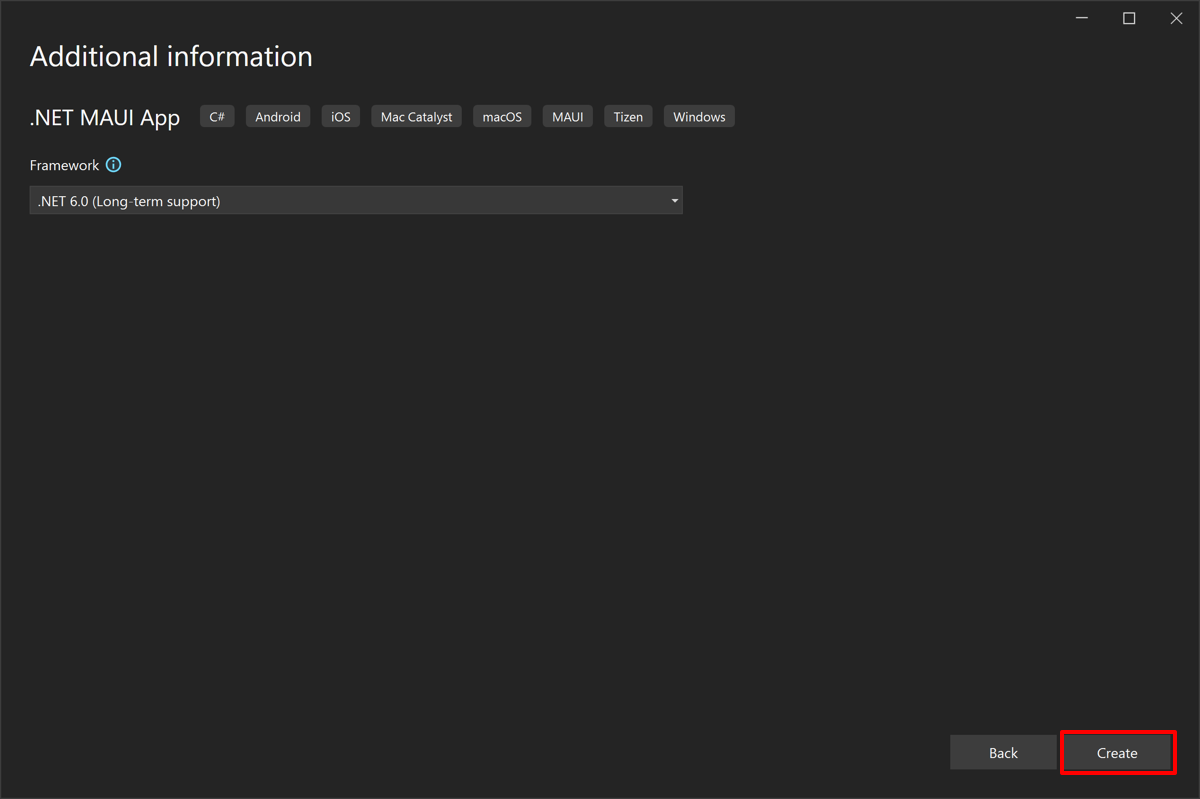
4. In the Additional information window, click the Create button:
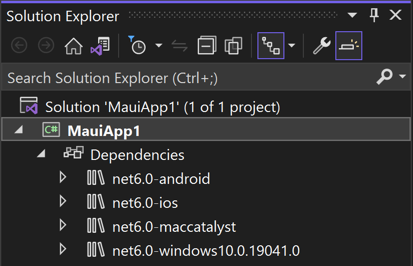
5. Wait for the project to be created, and its dependencies to be restored:
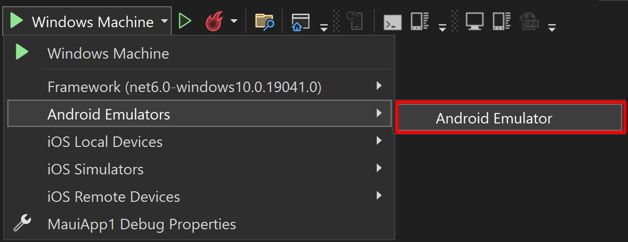
- In the Visual Studio toolbar, use the Debug Target drop down to select Android Emulators and then the Android Emulator entry:
7. In the Visual Studio toolbar, press the Android Emulator button:

Visual Studio will start to install the default Android SDK and Android Emulator.
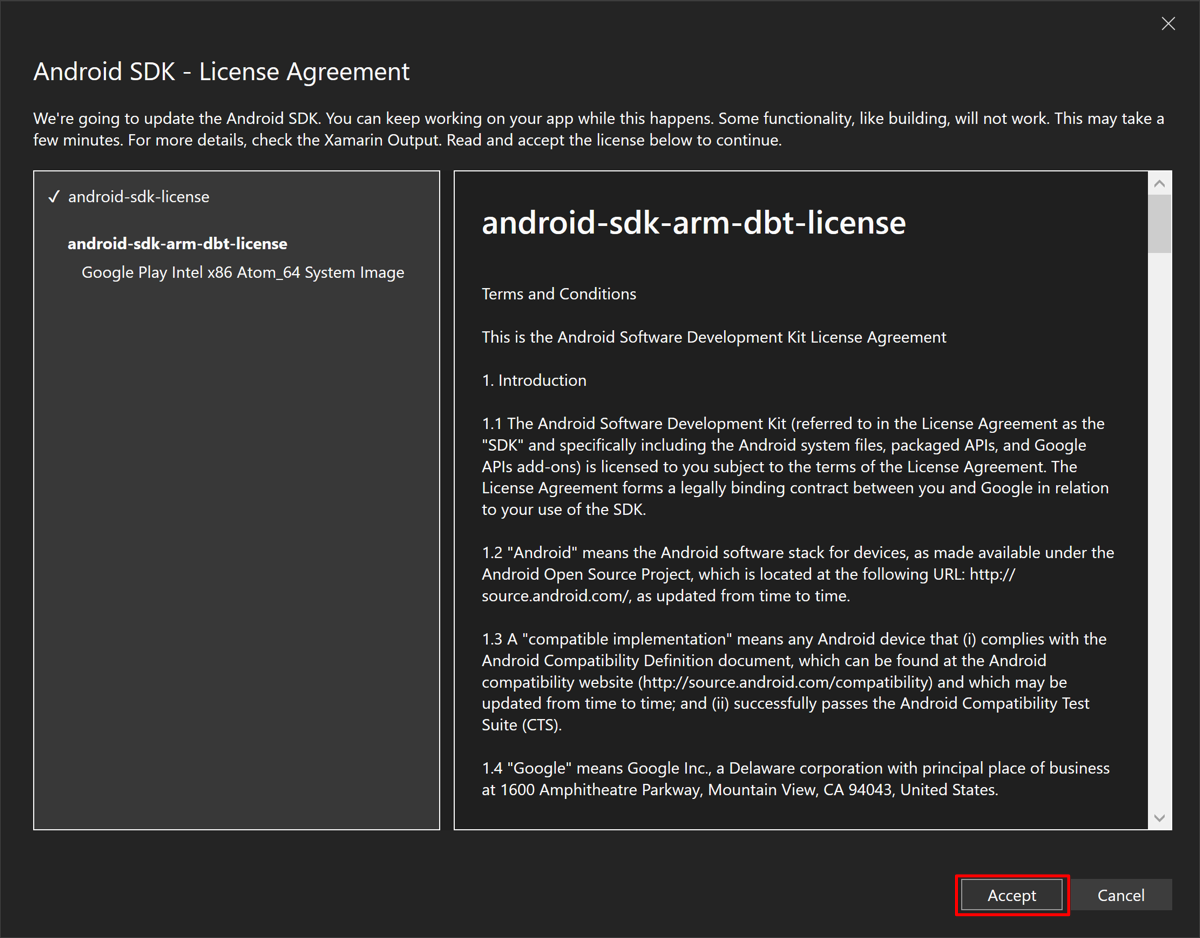
8. In the Android SDK – License Agreement window, press the Accept button:
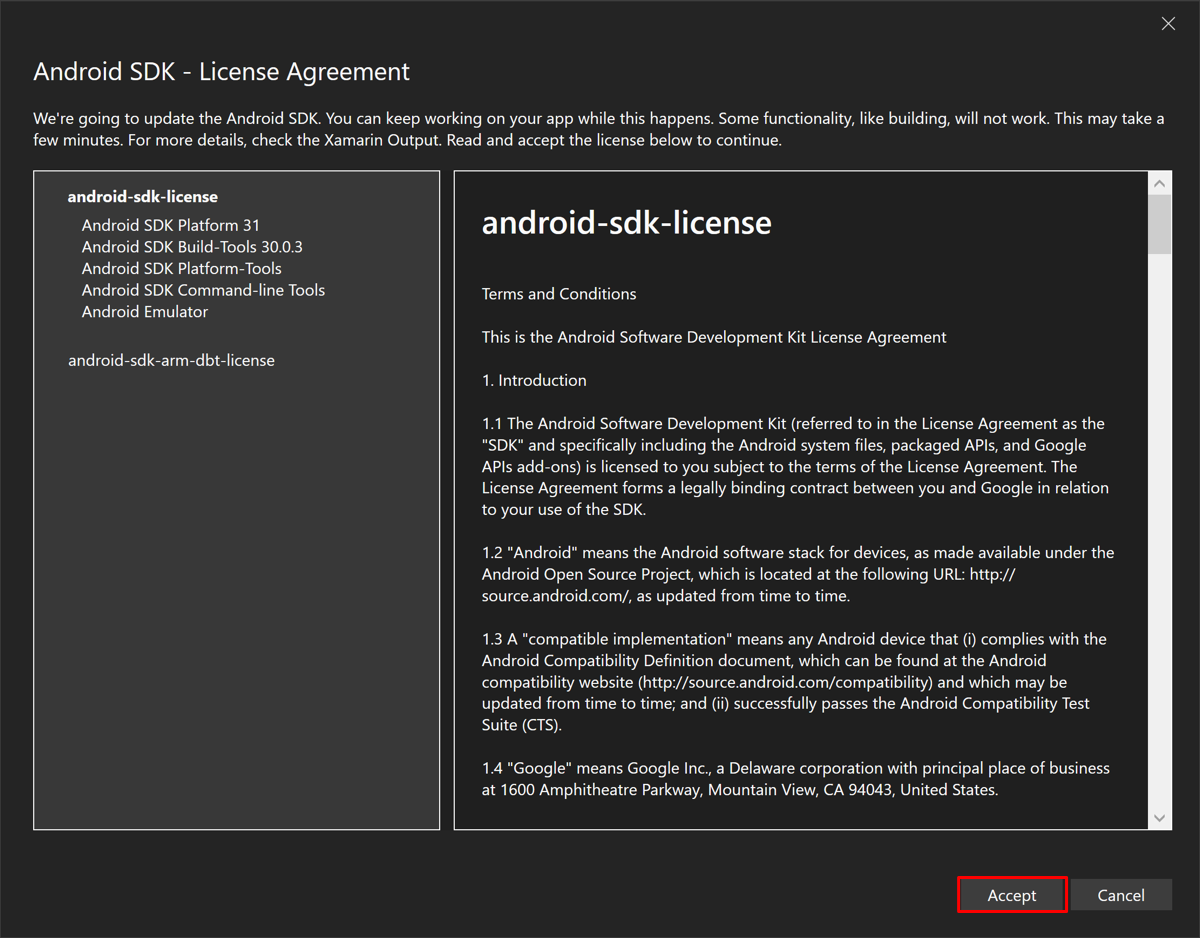
9. In the Android SDK – License Agreement window, press the Accept button:
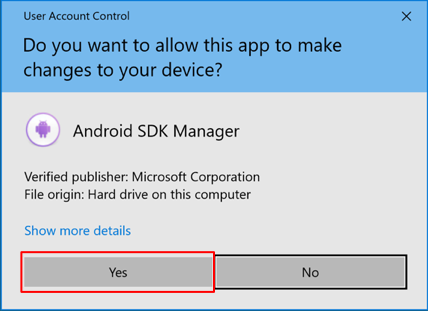
10. In the User Account Control dialog, press the Yes button:
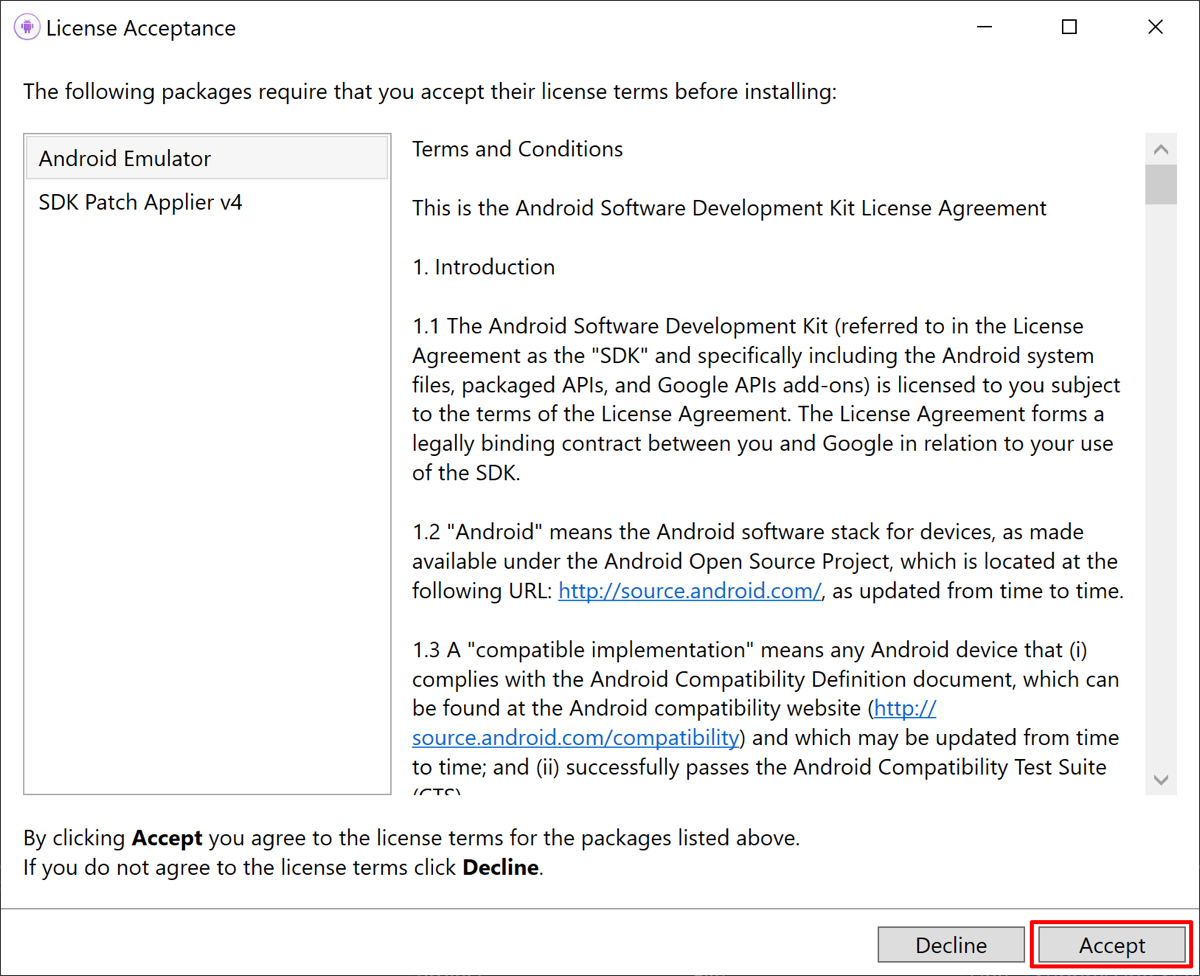
 11. In the License Acceptance window, press the Accept button:
           Wait for Visual Studio to download the Android SDK and Android Emulator.
12. In the Visual Studio toolbar, press the Android Emulator button:

Visual Studio will start to create a default Android emulator.
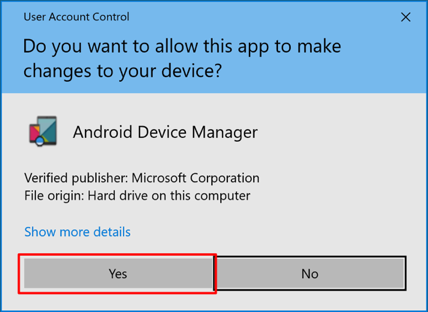
13. In the User Account Control dialog, press the Yes button:
14. In the New Device window, press the Create button:
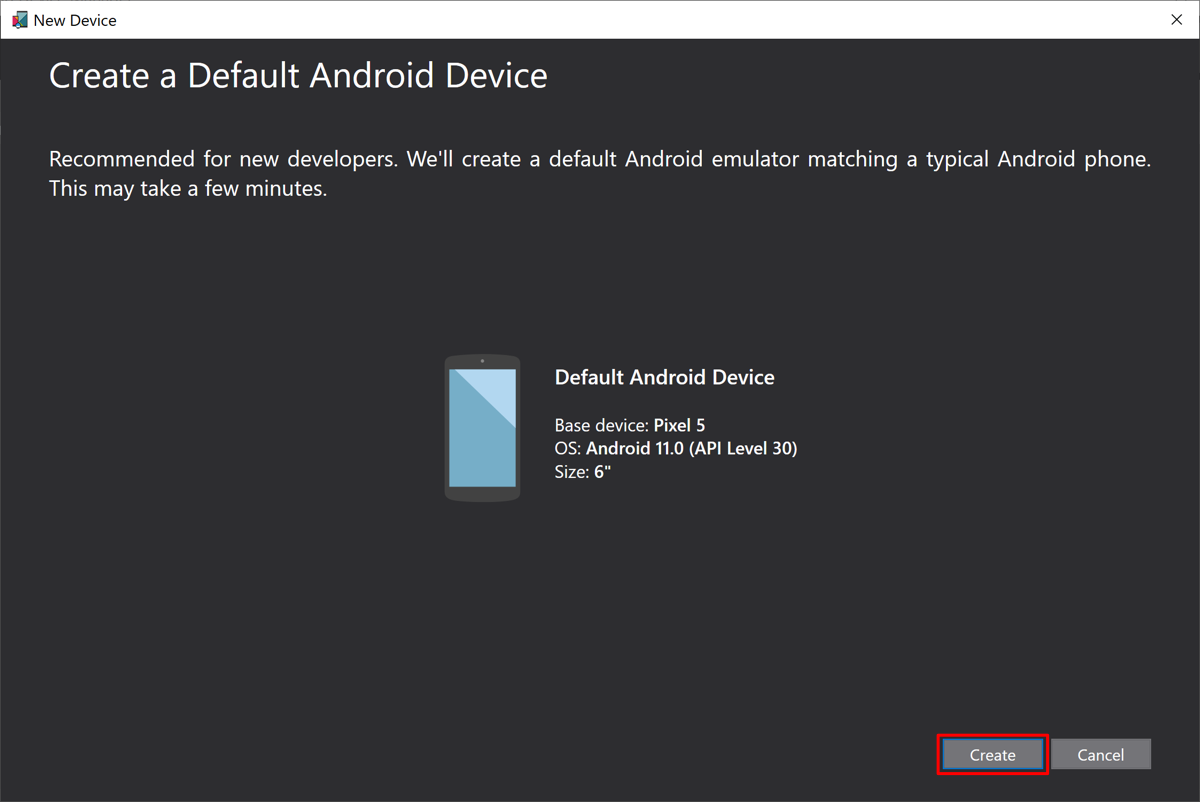
Wait for Visual Studio to download, unzip, and create an Android emulator.
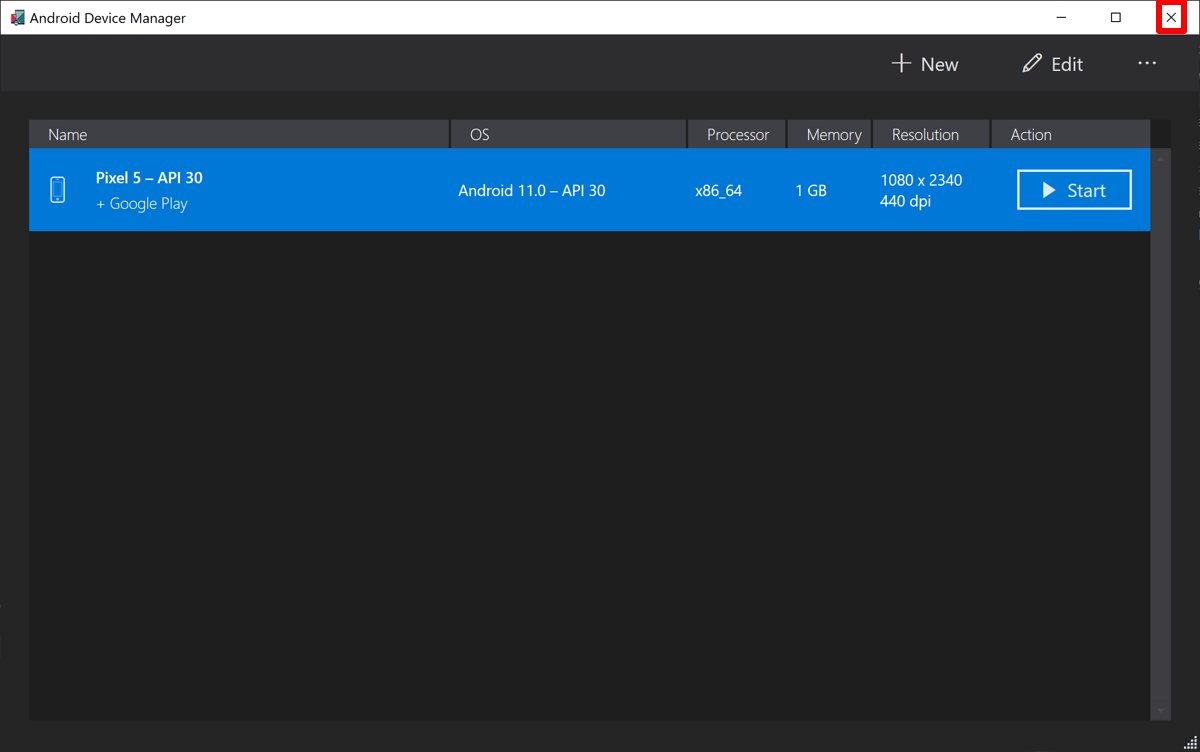
15. Close the Android Device Manager window:
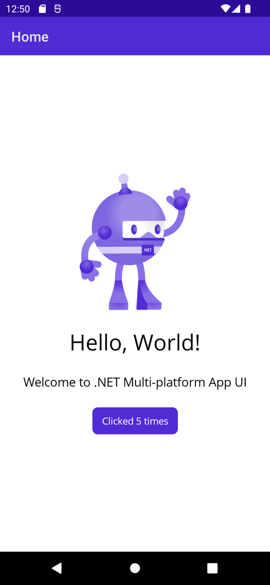
16. In the Visual Studio toolbar, press the Pixel 5 – API 30 (Android 11.0 – API 30)button to build and run the app:

Visual Studio will start the Android emulator, build the app, and deploy the app to the emulator.
 Warning
Hardware acceleration must be enabled to maximize Android emulator performance. Failure to do this will result in the emulator running very slowly.
17. In the running app in the Android emulator, press the Click me button several times and observe that the count of the number of button clicks is incremented.
Note: If you want to build the application in the Android Device then following steps are to be done:
Enable the USB Debugging option under Settings > Developer options.
For Android 4.2 and newer, Developer options is hidden by default; use the following steps:
- On the device, go to Settings > About <device>.
- Tap the Build number seven times to make Settings > Developer options available.
- Then enable the USB Debugging option.
After connecting the phone with the computer through data cable you have to select the device in the visual studio:
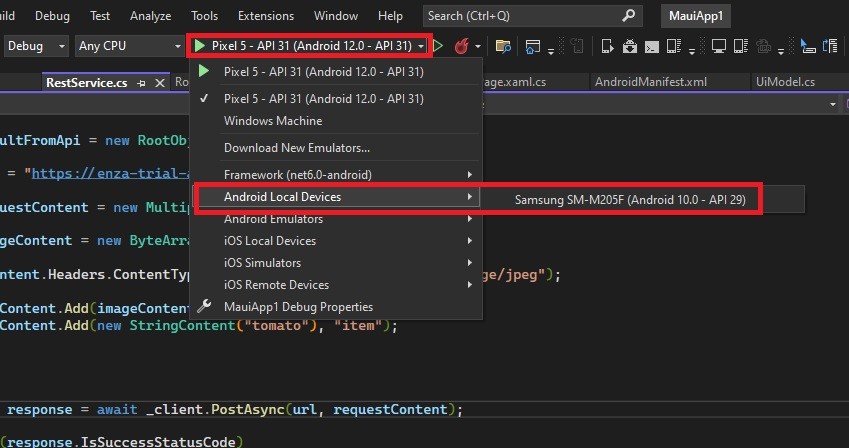
In the Visual Studio toolbar, press the Samsung SM-M205F button to build and run the app.
References:
- https://learn.microsoft.com/en-us/dotnet/maui/get-started/first-app?tabs=vswin&pivots=devices-android
- https://www.syncfusion.com/blogs/post/xamarin-versus-net-maui.aspx#:~:text=The%20main%20difference%20in%20platform,NET%20MAUI%20supports%20WinUI.